Blog Post - How to Repot Your Fiddle Leaf Fig: A Comprehensive Guide
Introduction

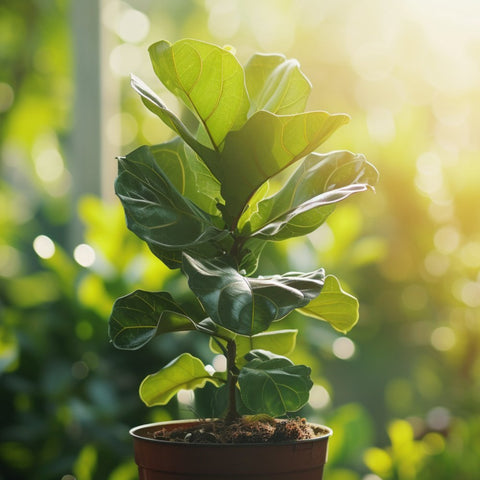
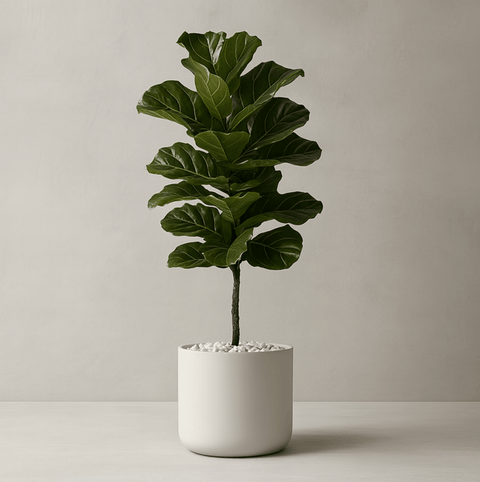
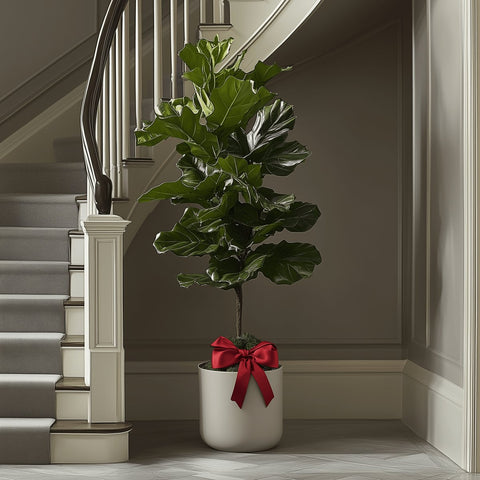
Fiddle leaf figs have become increasingly popular as houseplants due to their large, glossy leaves and elegant appearance. However, as these plants grow, they may outgrow their pots and require repotting. In this article, we will discuss the signs that indicate your fiddle leaf fig needs repotting and provide step-by-step instructions on how to repot it successfully.
Signs that your fiddle leaf fig needs repotting
If you notice that your fiddle leaf fig is exhibiting stunted growth, yellowing leaves, or roots peeping out from the drainage holes, it is likely time for repotting. These signs indicate that the plant has become root-bound, meaning its roots have outgrown the current pot and need more space to grow.
Selecting the right pot and soil for repotting
When choosing a new pot for your fiddle leaf fig, opt for one that is slightly larger than its current pot size. This will allow the roots to spread and promote healthy growth. Additionally, it is crucial to select well-draining soil specifically formulated for fiddle leaf figs. The soil should be airy and have good moisture retention to prevent overwatering.
Preparing the fiddle leaf fig for repotting

Before repotting your fiddle leaf fig, it is essential to safely remove it from its current pot. Gently tap the sides of the pot to loosen the soil and carefully lift the plant out, supporting the base of the trunk. Once the plant is out, trim any circling or root-bound roots and assess the overall health of the root system.
The repotting process
To repot your fiddle leaf fig, follow these step-by-step instructions:
Step 1:
Select a clean, slightly larger pot with drainage holes at the bottom.
Step 2:
Place a layer of well-draining soil at the bottom of the new pot.
Step 3:
Carefully position the fiddle leaf fig in the center of the pot and add more soil around it, gently pressing it down to remove any air pockets.
Step 4:
Continue adding soil until it reaches the same level as the soil in the old pot, leaving a small space at the top for watering.
Step 5:
Water the plant thoroughly to help settle the soil and hydrate the roots.
Aftercare and ensuring a successful transition

After repotting your fiddle leaf fig, it is crucial to provide proper aftercare to ensure a successful transition. Support the plant during the adjustment period by placing it in a well-lit area away from direct sunlight. Water the plant as needed, allowing the top inch of soil to dry out before watering again. Additionally, maintain an optimal temperature range of 65-75°F (18-24°C) to promote growth and avoid temperature extremes.
Common mistakes to avoid
While repotting your fiddle leaf fig, it is crucial to avoid common mistakes that could harm the plant. Some potential errors include using an overly large pot, using soil that retains too much moisture, or failing to trim root-bound roots properly. To ensure a successful repotting experience, choose the right pot size, use well-draining soil, and carefully trim any circling roots to promote healthy growth.
Frequently Asked Questions
Q: How often should I repot my fiddle leaf fig?
A: Fiddle leaf figs generally need to be repotted every 1-2 years or when you notice signs of stunted growth or root-bound roots.
Q: Can I reuse the old potting soil when repotting my fiddle leaf fig?
A: It is best to use fresh, well-draining soil when repotting your fiddle leaf fig to ensure optimal growth and prevent the risk of disease.
Conclusion
Repotting your fiddle leaf fig is essential for its overall health and growth. By recognizing the signs that indicate repotting is necessary and following the proper steps outlined in this article, you can successfully repot your fiddle leaf fig and provide it with the space and nutrients it needs to thrive. Now, armed with this comprehensive guide, go ahead and confidently repot your fiddle leaf fig!



















Comments (0)
There are no comments for this article. Be the first one to leave a message!